Once the meat is cool, stir in the shredded cheese. The meat mixture provides the savory flavor, and the cheese adds that gooey texture. Your perfect filling is ready!
Phase 4: Shaping the Picture-Perfect Crescents 🖼️
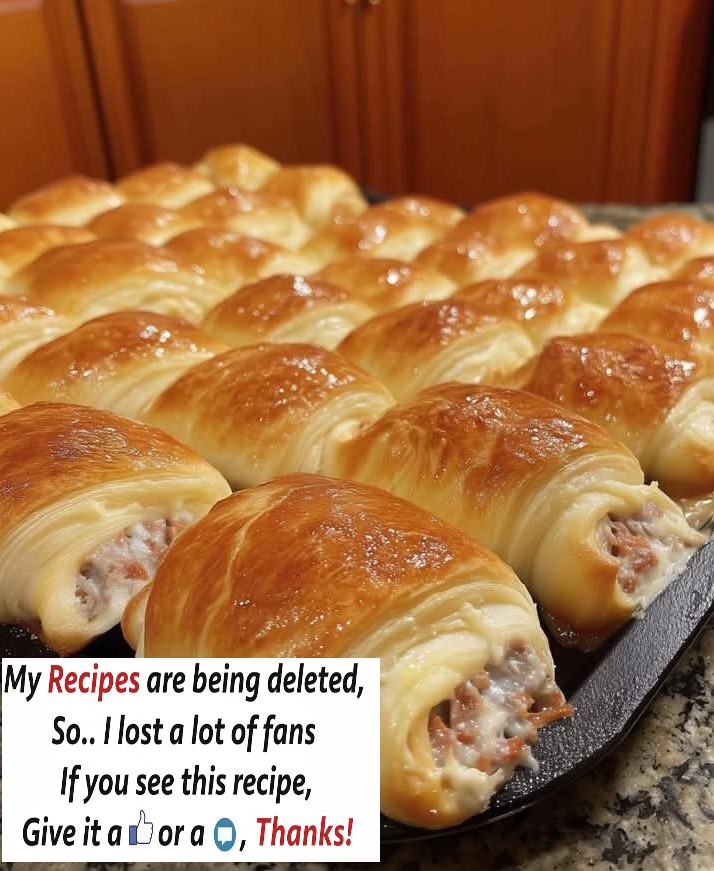
The picture shows beautifully rolled, uniform pastries. Achieving this look requires a simple rolling and shaping technique.
Step 1: Divide the Dough 📏
Gently punch down the risen dough to release the air. Transfer it to a lightly floured surface. Divide the dough into 2 equal portions. Keep one portion covered while you work with the other.
Step 2: Roll it Out ⚪
Take one portion of the dough and roll it into a large, thin circle, approximately 15 inches (38 cm) in diameter and about $1/8$ inch thick. The key to the layers is a thin roll.
Step 3: Cut the Triangles 📐
Using a pizza cutter or a sharp knife, cut the large circle into 8 or 12 equal triangles (like slicing a pizza). For smaller rolls like those pictured, aim for 12 triangles per circle.
Step 4: Filling and Rolling 🌯
Place a generous tablespoon (or slightly less for 12 triangles) of the cool filling near the wide edge of a dough triangle.
Starting from the wide base, gently roll the triangle up towards the point. Try to keep the filling tucked in.
As you roll, slightly curve the ends inward to form the classic crescent (C-shape) or “ay” (moon) shape, as they often do with Poğaça. The rolls in the picture appear straighter, so you can also just roll them straight for a uniform look.
Step 5: Arrange and Repeat ✨
Place the shaped rolls, point-side down, onto a large baking sheet lined with parchment paper. Leave about 1-2 inches of space between them. Repeat the rolling and shaping process with the second half of the dough. You should have 16 to 24 rolls in total.
Phase 5: The Second Rise (Proofing) & Pre-Bake Prep ☀️
The final rise is crucial for light, airy rolls. Don’t rush this step!
Step 1: The Short Nap 😴
Cover the baking sheet loosely with plastic wrap or a light kitchen towel. Let the rolls rise again in a warm spot for 30-45 minutes. They should look puffy but not quite doubled in size.
Step 2: Preheat and Prepare the Glaze 🔥
While the rolls are proofing, preheat your oven to 375°F (190°C). In a small bowl, whisk together the egg yolk and milk/water for the golden glaze. This is the secret to the picture’s incredible shine!
Step 3: Apply the Golden Touch 🖌️
Just before they go into the oven, gently brush the entire surface of each roll with the egg yolk glaze. Be careful not to deflate the dough! If desired, sprinkle with sesame seeds or Nigella seeds (çörek otu).
Page 3: Baking to Golden Perfection & Serving Suggestions 💖
We are at the final, most rewarding stage! Soon, your kitchen will be filled with the most amazing aroma.
Phase 6: The Grand Finale (Baking) 🌡️
The goal is a deep golden-brown exterior and a fully cooked, flaky interior.
Step 1: Bake Until Golden ☀️
Place the baking sheet in the preheated oven. Bake for 18 to 22 minutes, rotating the tray halfway through if your oven heats unevenly. Watch them closely after the 15-minute mark!
Step 2: Look for the Signs 🔔
The rolls are done when:
They are a rich, deep golden-brown color, exactly like the image.
The filling, if visible, is bubbling slightly.
A roll tapped on the bottom sounds hollow.
Step 3: Cool (if you can wait!) 🌬️
Transfer the finished rolls to a wire rack. While they are best served warm (which is how they appear in the picture), letting them cool slightly on a rack prevents the bottoms from getting soggy.
Phase 7: Serving, Storage, and Customization 🍽️
These savory crescent rolls are perfect for almost any occasion!
Serving Suggestions 🥂
See more on the next page
Advertisement
